
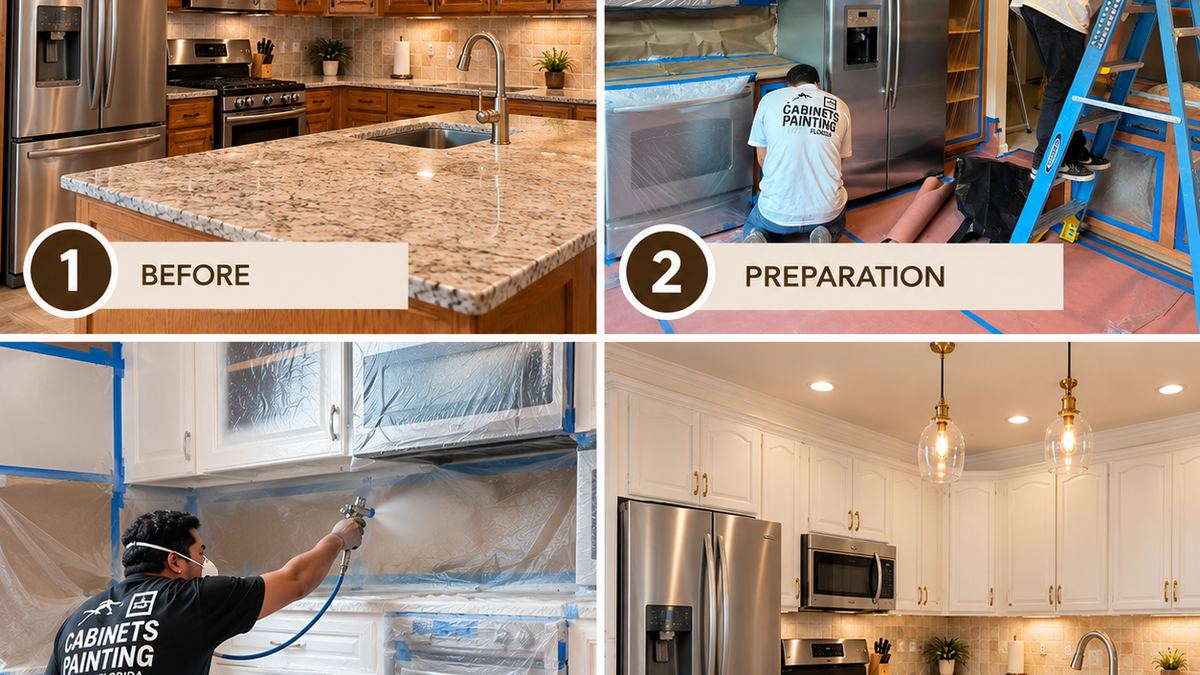
Are your kitchen cabinets looking worn, outdated, or just tired? Cabinet refinishing is one of the most cost-effective ways to transform a kitchen without the cost and disruption of a full renovation.
But what actually happens during a professional cabinet refinishing project? How long does it take, what do you need to do, and when can you use your kitchen? Here's the complete process, step by step, so you know exactly what to expect.
Refinishing gives your kitchen a completely new look while keeping the cabinets, countertops, and layout you already have. It can increase your home's appeal and costs far less than replacing everything. Whether your cabinets are solid wood, MDF, or laminate, the results can be stunning, when the work is done right.
Every project starts with an evaluation. We identify your cabinet material and existing finish, check for damage, and measure the scope of the work. Then we help you choose the right color and sheen for your countertops, floors, and light, and give you a clear timeline.
Before anything is sanded or sprayed, your countertops, floors, backsplash, walls, and appliances are covered. Work areas are sealed off to keep dust contained and your home clean.
Every door, drawer front, hinge, and piece of hardware is removed and numbered. This simple step is what makes every door return to its exact place and close perfectly at the end.
Kitchen cabinets collect years of grease, oils, and residue, especially around the stove and handles. These must be completely removed, using products that are compatible with your cabinet material and the primer, or the new finish won't bond.
Sanding creates a surface the primer can grip. It's done carefully, because too much can damage veneer or MDF and too little leaves a glossy surface that causes peeling. Dents, scratches, and loose joints are filled and repaired at this stage.
Primer is the bond between your cabinet and the new finish. We choose it based on your material and the color change. On woods like cherry and oak, it also blocks tannins that would otherwise stain a light color.
Cabinet-grade coatings are applied with professional fine-finish spray equipment, with proper drying time between coats. Doors and drawer fronts are finished at our shop in a controlled environment; cabinet frames and boxes are finished in your home with everything protected.
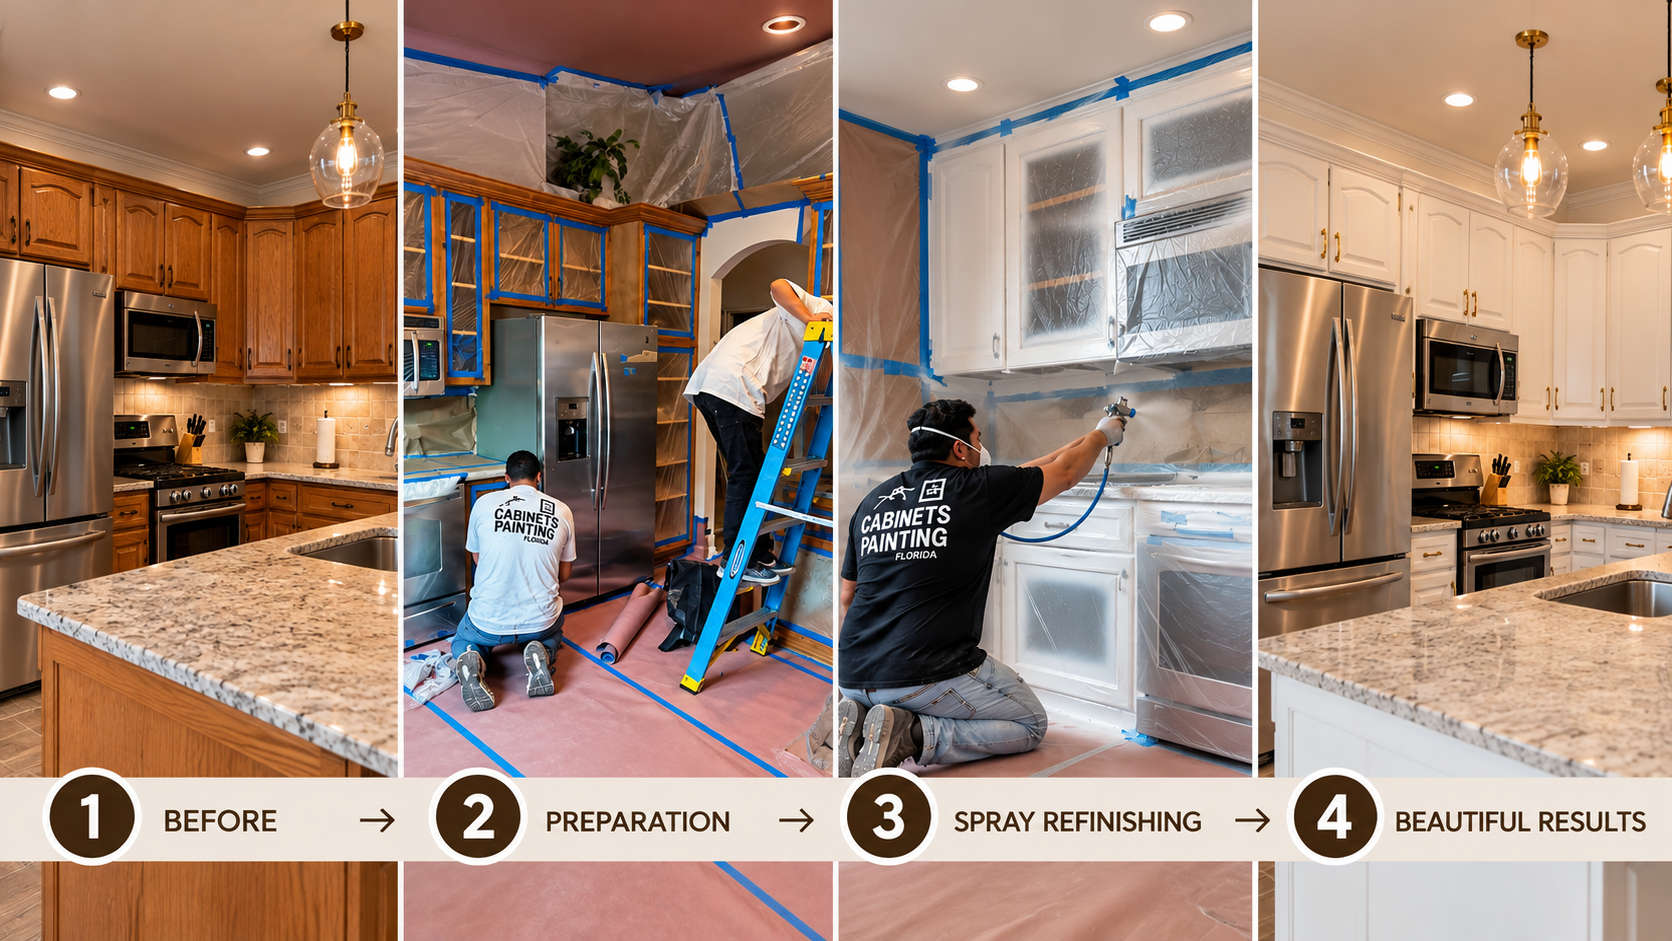
Once the finish has dried and cured properly, doors, drawer fronts, and hardware are reinstalled. Every door is aligned and adjusted, and we walk through the kitchen with you to make sure you're happy with every detail.
You don't need to do much, but these small things make the project faster and easier:
Most kitchens are completed in 3 to 5 days, depending on the number of doors and drawers, repairs, and the color change. You'll get a specific timeline with your estimate.
Usually not completely. We'll let you know before the project starts if any items need to be moved or protected.
Work areas are covered and sealed off, and most spraying is done at our shop. Some sanding and finishing happens on site, but it's contained and cleaned up every day.
Yes, in most cases. MDF and laminate need specific preparation and bonding primers, which is why we always identify the material first.
With proper preparation, a compatible primer, and cabinet-grade coatings, a professional finish is built to stand up to daily use and cleaning for years.
Cabinet refinishing is a detailed process, and every step affects the final result. NEXTCOAT CABINETS PAINTING handles everything, from the color consultation to the final walkthrough, so you can enjoy a beautiful new kitchen without the stress.